In the world of DIY crafts, there's a timeless charm in creating functional and aesthetically pleasing items with your own hands. One such project that combines utility and beauty is weaving a leather basket.
This year we will be offering classes to make this unique and stylish piece to not only serve a practical purpose but also add a touch of rustic beauty to your home. In this step-by-step guide, we'll explore the process of making a woven leather basket, providing you with the knowledge you need to complete this unique piece.

Be sure to check your local store for class listings, find the nearest location with our store locator.
You can follow the steps pictured below, or find a complete build-a-long walkthrough video at the end of this post!
WHAT YOU NEED
- Veg-tan woven basket kit (These will be available in store, so call ahead!)
- Leather scissors
- Leather hole punch
- Skiving knife
- Rivet setter and anvil
- Contact cement
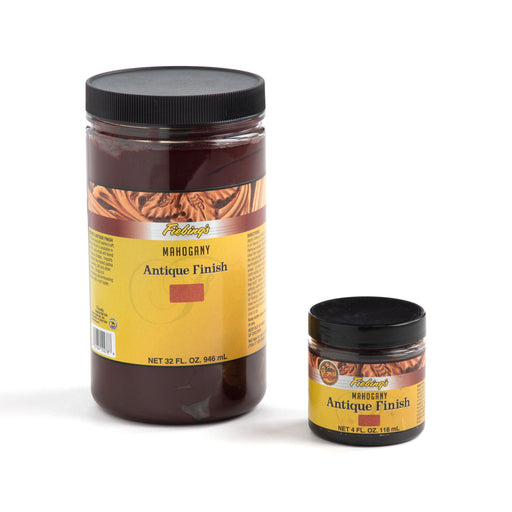
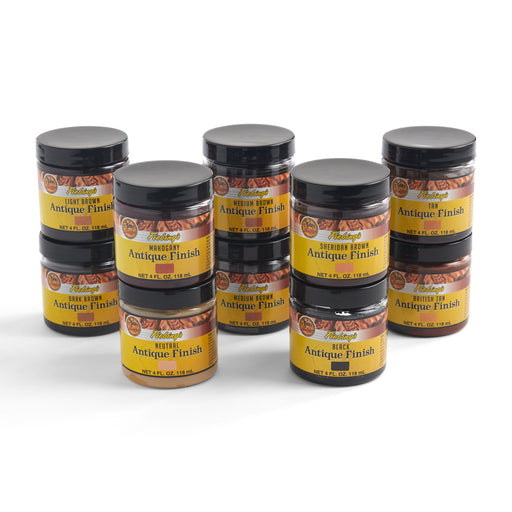
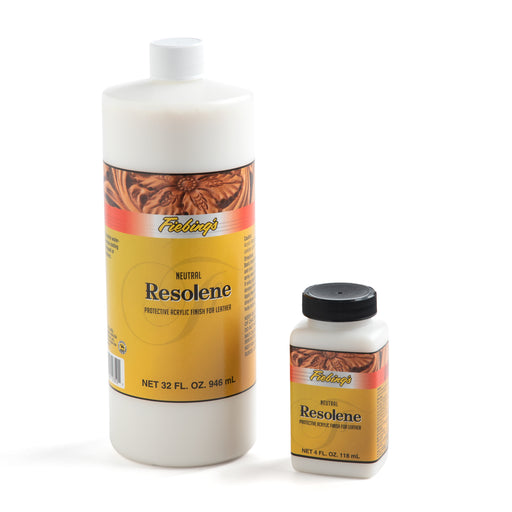
- Dye, paint, finish & stamps: Optional for adding color and protecting the leather.

STEP 1
Prepare collars by marking and punching holes
Using the awl, mark evenly spaced holes along the edges of the wooden base. These holes will serve as anchor points for weaving the leather strips. Use the leather punch to create holes in the leather strips that correspond to those on the wooden base.
STEP 2
Skive strap ends
Using a skiving knife, skive the strap ends to a feather's edge. It is essential that you get them as thin as possible to ensure the hardware used the hold the leather together will fit properly.

STEP 3
Prepare to weave
Lay your base layer of leather pieces down, flesh side up.

STEP 4
Weave the base and sides
Being weaving, layering the pieces over and under the base straps. Take your time and make sure each piece is oriented correctly to make the following steps much easier.

STEP 5
Case and wet mold the basket
Using water, wet the flesh side of the leather and begin bending the straps upward, into the shape of a basket. Continue to do this for a few minutes until the straps start to hold their form when you release them.
STEP 6
Attach the collars and handle
Dry fit* a large rivet post through the grain side of the inside collar, then the remaining 1” strap (which is now the top handle), then the middle basket strap, then the outside collar. Secure the cap. The grain sides of the collars should both be visible.
*Dry Fit = fitting hardware before securely setting.

Continue to dry fit the rest of the straps with medium length rivets, until you reach the original point, remembering to attach the handle on the far side of the basket using the second long rivet.

STEP 7
Secure the collars
When you reach the first rivet and add the hole of the collar so all of the holes meet. Resecure with the original rivet.
Pro tip: make sure to trim the handle, if desired, at this point!

STEP 8
Set the hardware
Using a rivet setter and anvil, carefully fit the caps to the rivet posts, turn the basket on its side and set the rivets to secure the caps. Continue all the way around the basket, until all of the rivets are properly attached.

STEP 9
Complete the final weave
Skive the end of the 1.5” strap to a feather edge.

Starting on the inside of the basket, secure the strap and weave the strap in and out until the ends meet.


If needed, mark where you will need to trim the strap. Undo the weave, trim and skive the flesh side to a feather edge, reweave, then glue the ends together and clip until it dries.

CONCLUSION

Weaving a leather basket is a rewarding and creative endeavor that allows you to showcase your craftsmanship. Whether you're a seasoned DIY enthusiast or a beginner looking for a unique project, this guide provides the foundation to create a stunning woven leather basket that will undoubtedly become a cherished addition to your home. Enjoy the process, embrace creativity, and revel in the satisfaction of crafting a functional work of art.


Leave a comment